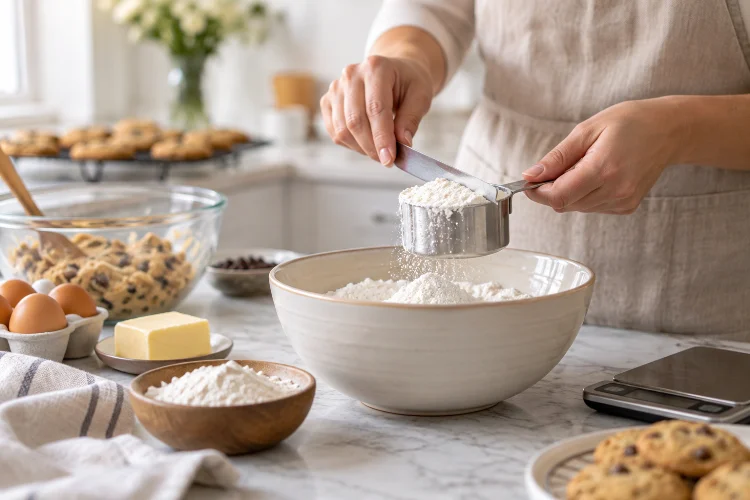
You follow a cookie recipe exactly, but somehow your cookies come out dry and thick instead of soft and chewy. Or your homemade cake feels heavier than the beautiful version in the recipe photos.
Surprisingly, the problem may not be your oven or mixing technique-it could simply be the way you measured the flour.
Learning how to measure flour correctly is one of the easiest ways to improve your baking. Flour can become compacted inside a bag or storage container, which means a measuring cup can hold very different amounts depending on how you fill it.
King Arthur Baking, for example, notes that a cup of all-purpose flour can weigh around 120 grams when measured using its recommended method but may reach roughly 160 grams when heavily packed.
That difference can dramatically change a recipe.
Fortunately, accurate flour measurement does not require professional baking skills. Whether you have a digital scale or ordinary measuring cups, a few simple techniques can produce much more reliable results.
1. Why Measuring Flour Accurately Matters
Baking depends heavily on ratios.
Flour provides structure, but adding too much can change the balance between dry ingredients, liquids, fat, eggs, and sugar. Cookies may become cakey or crumbly, cakes can turn dry, and bread dough may become unnecessarily stiff.
Too little flour creates a different set of problems.
Cookies might spread excessively, cake may lack structure, and dough can become much wetter than the recipe developer intended.
America’s Test Kitchen has found that measuring technique alone can create differences of up to 20% in the weight of a cup of flour.
That is why accurate measurment matters much more in baking than many beginners realize.
A tablespoon or two may seem insignificant, but when the recipe contains several cups of flour, small differences can quickly accumulate.
2. The Most Accurate Method: Use a Kitchen Scale
If you regularly bake, a digital kitchen scale is one of the most useful tools you can own.
Measuring by weight removes most of the uncertainty created by compacted or aerated flour. Instead of wondering how tightly a cup was filled, you simply measure the exact number of grams specified in the recipe.
King Arthur Baking considers weighing flour the most accurate method and uses 120 grams as its standard for one cup of all-purpose flour.
How to Weigh Flour Step by Step
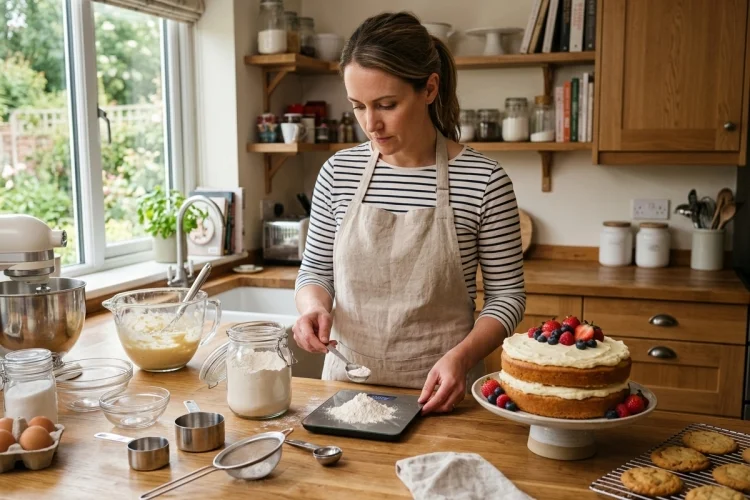
Place your mixing bowl on the digital scale and press the tare or zero button. This resets the display to zero so the weight of the bowl is not included.
Next, gently add flour until you reach the amount specified in the recipe.
If your recipe calls for 240 grams of flour, for example, stop when the scale displays 240 grams.
There is no need to pack, level, or shake anything.
This method is quick, clean, and highly repeatable, which is especially helpful when baking bread, cakes, pastries, and other recipes where consistancy matters.
3. Do Not Assume One Cup of Flour Always Has the Same Weight
Here is where things become interesting: there is no universal gram conversion used by every recipe developer.
King Arthur Baking defines one cup of its all-purpose flour as 120 grams. Sally’s Baking uses approximately 125 grams for one cup of all-purpose flour, while Food Network gives approximately 125 to 130 grams.
America’s Test Kitchen uses yet another standard based on its own dip-and-sweep measuring method: approximately 5 ounces per cup.
This does not necessarily mean one source is wrong.
Different recipe developers create and test recipes using different measuring conventions, flour brands, and techniques.
For this reason, if a recipe provides weight measurements, use the grams listed in that specific recipe rather than converting cups with a generic chart.
Following the recipe developer’s original measurement gives you the best chance of reproducing the intended result.
4. How to Measure Flour Without a Scale
No digital scale? You can still measure flour accuratly with ordinary dry measuring cups.
The key is avoiding the temptation to push your measuring cup directly into the flour bag.
Instead, use the spoon-and-level method.
First, gently stir or fluff the flour with a spoon. Flour settles during shipping and storage, so this step helps loosen compacted particles.
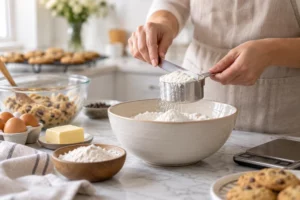
Next, use a spoon to transfer flour into a dry measuring cup. Allow the flour to fall naturally into the cup without pressing or tapping it down.
Continue until the flour rises slightly above the rim.
Finally, take the straight edge of a knife or similar utensil and sweep it across the top, removing the excess flour.
Martha Stewart’s baking guidance recommends essentially the same process: fluff, spoon, and sweep.
Sally’s Baking also recommends spooning flour into the measuring cup and leveling it rather than scooping directly from the container.
5. Why Scooping Flour Directly Can Cause Problems
One of the most common baking mistakes is using the measuring cup like a shovel.
You push it into the flour container, scoop upward, and level the top.
It certainly feels efficient.
Unfortunately, the pressure created while scooping can compress flour inside the cup. That means you may end up adding considerably more than the recipe intended.
King Arthur Baking reports that densely packed flour can push the weight of one cup toward 160 grams compared with around 120 grams using its recommended method.
Imagine a cake recipe requiring three cups.
Using heavily packed cups could potentially add a substantial amount of extra flour, completely changing the batter’s hydration.
Another mistake is tapping the cup against your counter.
Tapping makes the flour settle further into the cup, allowing even more flour to fit inside. Instead, let the spooned flour remain loose before leveling the surface.
6. Use Dry Measuring Cups, Not Liquid Measuring Cups
Not every measuring cup is designed for the same job.
Dry measuring cups are typically sold as individual sizes such as 1 cup, 1/2 cup, 1/3 cup, and 1/4 cup. You fill them completely and level the ingredient across the rim.
Liquid measuring cups usually have extra space above the highest measurement line and are designed to be read at eye level.
Food Network specifically recommends dry measuring cups for ingredients such as flour and notes that weight measurements provide greater accuracy.
Technically, you could put flour into a liquid measuring jug and try to estimate the level.
The problem is that you cannot sweep the flour cleanly across a flat rim. Your reading therefore becomes much less precise.
Keep both types of measuring tools in your kitchen and use each for its intended purpose.
7. Understand When Flour Should Be Sifted
Recipes sometimes create confusion with instructions involving sifted flour.
Consider these two phrases:
“1 cup flour, sifted”
and
“1 cup sifted flour.”
They may look almost identical, but traditionally they mean different things.
When a recipe says “1 cup flour, sifted,” measure the flour first and then sift it.
When it says “1 cup sifted flour,” sift the flour first and then measure it.
Sifting introduces air and changes how much flour fits into a cup, so changing the order can affect the quantity used. Both Sally’s Baking and Food Network highlight this distinction in their baking measurement guidance.
If the recipe provides grams, however, the situation becomes much easier. Weigh the specified amount and follow the recipe’s sifting instruction.
8. Remember That Different Flours Have Different Weights
Another common mistake is assuming one cup of every flour weighs the same.
It does not.
Bread flour, cake flour, whole-wheat flour, almond flour, and other varieties differ in particle size, composition, density, and moisture characteristics.
Even among wheat flours, weight conventions can vary.
Sally’s Baking, for instance, lists approximately 125 grams for one cup of all-purpose flour, 130 grams for bread flour, and 118 grams for cake flour using its own measuring standards.
This is another reason weight-based recipes are so convenient.
If your recipe says 250 grams of bread flour, there is little ambiguity. You simply weigh 250 grams.
When converting older cup-based recipes, however, use a conversion chart from a trusted source and make sure you are looking at the correct flour type.
9. Common Flour Measuring Mistakes to Avoid
Most flour measurement problems come from a handful of habits.
Avoid packing flour into the cup, shaking the cup to make additional flour fit, or leveling it by pressing down with your hand.
Do not confuse dry and liquid measuring cups.
Also be careful when converting recipes between cups and grams. Rather than automatically assuming that every cup equals one specific weight, check whether the recipe author provides an official conversion.
If you bake frequently from the same website or cookbook, learning that source’s measuring standard can make your results much more predictable.
It is also helpful to store flour in a dry, sealed container where it remains easy to fluff and scoop.
These habits require almost no additional effort but can make your baking noticeably more reliable.
10. Which Method Should Beginners Use?
If you are just getting into baking, consider buying an inexpensive digital kitchen scale.
It eliminates much of the guesswork involved in flour measurement and makes recipes easier to repeat.
You can also measure ingredients directly into one bowl by pressing tare between additions, reducing the number of measuring cups that need washing.
However, you do not need a scale to bake successfully.
If the recipe was developed using cups, simply follow the author’s recommended technique. Fluffing, spooning, and leveling flour can produce very good results when performed carefully.
The important part is being consistent.
Switching between heavily scooped flour one day and lightly spooned flour the next makes it difficult to understand why the same recipe produces different results.
Learning how to measure flour correctly may seem like a tiny kitchen skill, but it can have a surprisingly large effect on cookies, cakes, bread, muffins, and pastries.
For maximum precision, use a digital kitchen scale and follow the gram measurement provided by the recipe developer. If you are using cups, fluff the flour, spoon it gently into a dry measuring cup, and level the surface without packing or tapping.
Remember that cup-to-gram conversions can vary among recipe sources, so do not treat every conversion as universal. The next time you bake, pay attention to this one simple step before mixing your ingredients.
Try weighing your flour-or use the spoon-and-level method carefully-and compare the finished texture with your usual results. A small change in measuring technique might be one of the easiest baking upgrades you make.